
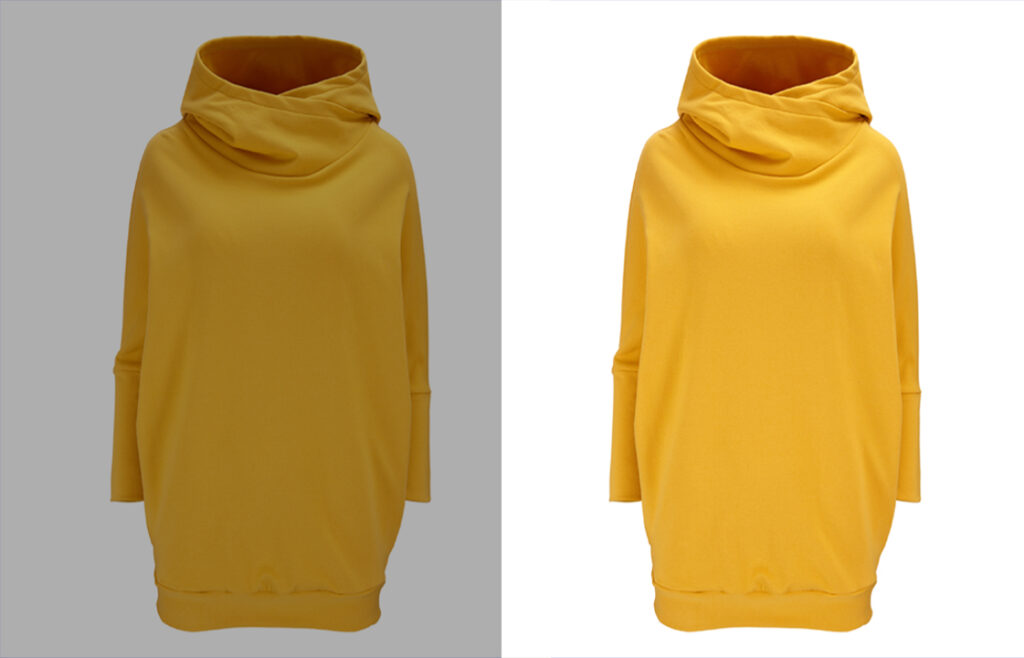
How to Color Correct Photos? use photo editing software to adjust the color balance, saturation, and contrast. Color correction is an essential step in the photo editing process as it ensures accurate and natural-looking colors in your images.
By adjusting the color balance, saturation, and contrast using photo editing software, you can bring out the true colors of your subjects and enhance the overall visual appeal of your photos. Whether you’re a professional photographer or a casual hobbyist, learning how to color correct photos can greatly improve the quality of your images.
We will explore some effective techniques and tips for achieving accurate and vibrant colors in your photographs. Let’s dive in and discover the art of color correction.
Understanding Color Correction
Understanding color correction is crucial in photography as it helps to enhance the overall quality of photos. Colors and light play a significant role in creating visually appealing images. However, there are common color-related issues that can arise in photos, such as incorrect white balance or inaccurate skin tones.
By utilizing color correction techniques, photographers can restore balance and improve the accuracy of colors in their images. It involves adjusting the colors, tones, and saturation to achieve the desired look. Whether you are a professional or an amateur photographer, understanding the science behind colors and light is essential to effectively apply color correction techniques.
By addressing color issues, you can create stunning and captivating photos that accurately represent the subject or scene.
Essential Tools And Techniques
Color correcting photos requires essential tools and techniques. To start, selecting the right software is crucial. Going beyond the basic adjustments, understanding color channels and histograms ensures accurate corrections. Additionally, advanced techniques like split toning and color grading enhance the overall look of the photo.
By carefully utilizing these techniques, you can breathe new life into your images. So, let’s dive into the world of color correction and explore the endless possibilities it brings.
Step-By-Step Color Correction Process
The first step of the color correction process involves assessing the original image and identifying any color issues present. To achieve accurate color representation, the white balance needs to be adjusted. Next, it is important to correct the exposure and contrast to enhance the overall image quality.
Specific color cast and tint issues should also be addressed. Finally, balancing the saturation and vibrance is crucial to create natural-looking colors in the final photo. By following this step-by-step process, you can effectively color correct your photos and improve their visual appeal.
Advanced Color Correction Techniques
Advanced color correction techniques involve targeted adjustments using luminosity masks for precise control. By employing masking and selective adjustments, you can make localized corrections to specific areas of your photos. Color curves are a powerful tool that provide fine-tuned control over color tones, allowing you to achieve the desired look.
When it comes to fixing skin tones and creating natural-looking portraits, careful color correction is essential. Additionally, you can apply creative color enhancements and stylistic edits to give your photos a unique and eye-catching flair. With these techniques, you can transform your images and take your color correction skills to the next level.
Remember to practice and experiment to perfect your results. Now, go out and create stunning, visually appealing photos with your newly acquired color correction knowledge.
Tips And Considerations
Color correcting photos can be a daunting task, but with these tips and considerations in mind, you can achieve consistent and professional results. Start by importing and exporting color profiles to ensure consistent color reproduction across different devices. Working with raw files provides maximum flexibility in adjusting exposure, white balance, and color tone.
To save time and streamline your workflow, take advantage of batch processing capabilities in photo editing software. Be aware of common mistakes and pitfalls in color correction, such as oversaturating or overcorrecting colors. Remember to continually learn and experiment with different techniques to develop your own personal style.
By following these guidelines, you can enhance your photos and create visually stunning images.
Case Studies: Real-Life Examples
Color correction is a vital aspect of photo editing, as it helps improve the overall accuracy and vibrancy of the colors in an image. Take, for example, landscape photography. Correcting color in these types of photos can bring out the true beauty of nature’s hues.
Similarly, when working with old and faded photographs, restoring color accuracy can breathe new life into cherished memories. In portrait photography, enhancing color can make subjects appear more lifelike and vibrant. Additionally, color correction can be used to create artistic and stylized effects that are unique and eye-catching.
By employing various techniques and tools, photographers can transform their images into stunning visual masterpieces. Color correction truly makes a difference in the final outcome of a photograph.
Frequently Asked Questions
How to Color Correct Photos?
If you want to know How to Color Correct Photos, follow these steps for a quick fix. Open your image in a photo editing software. Adjust the white balance to fix any color temperature issues. Enhance the saturation and vibrancy to make colors pop.
Use the hue/saturation tool to individually adjust specific colors. Increase or decrease the brightness and contrast to improve overall quality. Experiment with selective color adjustments for targeted corrections. Make sure to save your changes in the appropriate file format for your needs.
Remember, practice makes perfect, so don’t be afraid to try different adjustments until you achieve the desired color correction.
How Do You Edit Photos To Make Them Look Better Quality?
To improve the quality of your photos, follow these steps:
1. Adjust brightness, contrast, and saturation for a balanced look.
2. Sharpen the image to enhance details, but don’t overdo it.
3. Remove any unwanted elements, such as red-eye or blemishes.
4. Resize and crop the photo to focus on the subject and improve composition.
Remember, it’s essential to use proper editing tools like adobe photoshop or Lightroom. Play around with settings, but keep a natural appearance. Boosting the quality too much can make photos unrealistic.
Proper editing ensures your images look more professional and visually pleasing.
How Do You Color Grade Multiple Pictures?
To color grade multiple pictures, follow these steps. First, select a photo editing software that offers batch processing. Then, import the images into the software. Next, adjust the color settings for one image to achieve the desired look. Once satisfied, copy the adjustments and apply them to the rest of the pictures.
Make any necessary fine-tuning to ensure consistency. Afterward, save the edited images in the desired format. By using a software with batch processing capabilities, you can efficiently color grade multiple pictures simultaneously. Remember to always save your original files before making any edits.
How Do I Color Correct An Image In Photoshop?
To color correct an image in photoshop:
1. Open the image and go to the “adjustments” panel.
2. Choose the “levels” adjustment to adjust the brightness, contrast, and color tones.
3. Use the “curves” adjustment to fine-tune the image’s color balance and contrast.
4. Use the “hue/saturation” adjustment to modify specific colors or overall saturation.
5. Select the “color balance” adjustment to adjust the balance between different color channels.
6. Use the “selective color” adjustment to target specific colors and adjust their hue, saturation, and brightness.
7. Experiment with other adjustment tools like “vibrance” or “photo filter” to further refine the colors.
8. Make sure to save a copy of the final image to preserve the original. With these simple steps, you can easily color-correct your images in Photoshop to achieve the desired look.
Remember to adjust each parameter subtly to avoid over-processing the image.
Conclusion
Mastering the art of color correcting photos is an essential skill for any photographer or graphic designer. By understanding the fundamental concepts of white balance, exposure, and color cast, you can transform dull or off-color images into captivating visuals. Remember to always start with an accurate representation of white, adjust the exposure as needed, and then fine-tune the colors to create a harmonious palette.
Don’t be afraid to experiment with different tools and techniques to achieve the desired result. Whether you’re editing portraits, landscapes, or product shots, color correction is a powerful tool that can elevate your photography and make your work stand out.
So, take the time to learn and practice these techniques, and soon you’ll be able to enhance the colors in your photos with confidence and precision. Happy editing!


